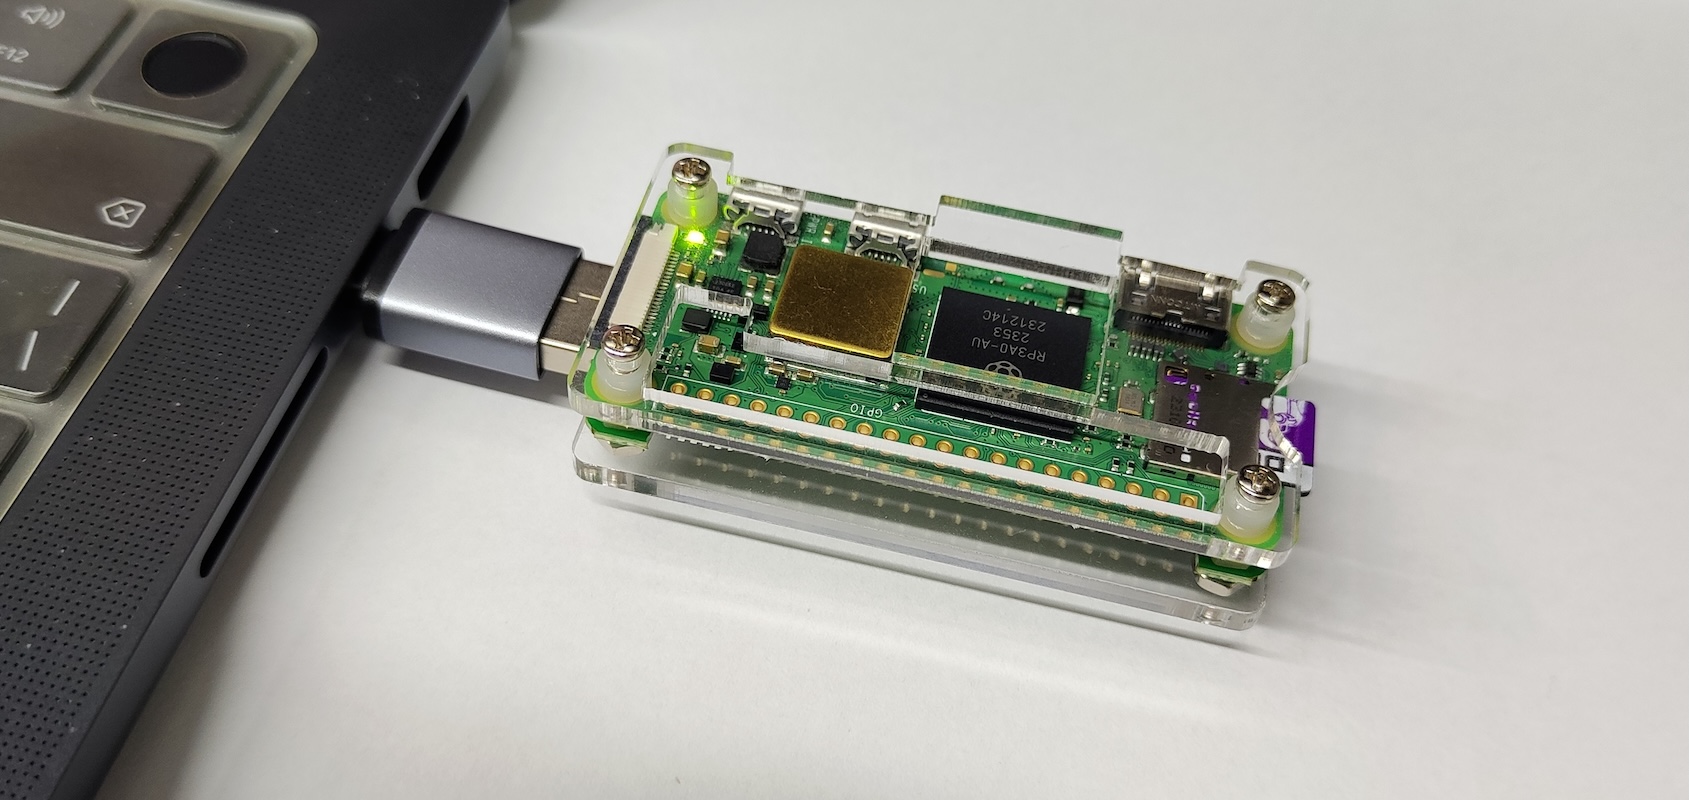
Recently, I got a very tiny development board, the Raspberry Pi Zero 2W (hereinafter referred to as “Pi”), and paired it with a USB Key expansion board. After tinkering with it for a few days, I used it to implement a portable side router. This article records the key technical points for the reference of readers with similar needs.
Background Description
Students who have experimented with proxies should be familiar with the concept of a “side router”; here, it is mainly used as a transparent proxy. Nowadays, the relevant technologies are quite mature, so if you have a small host, building a transparent proxy is not difficult. The main focus of this article is on the word “portable,” which requires the small host to meet the following characteristics:
1. Compact (otherwise it is not suitable for carrying around);
2. Wi-Fi connectivity;
3. Ability to switch networks at any time.
The third point is the most troublesome. Suppose I bring my laptop and the small host to a new environment and learn the local Wi-Fi credentials; how can I get the small host to connect to the new Wi-Fi? The key is how the laptop connects to the small host when the host is not yet online. If there is an Ethernet port, connecting via a network cable is naturally possible, but hosts with Ethernet ports are usually not small, and carrying a network cable is cumbersome (MacBooks also require an adapter).
The Raspberry Pi Zero 2W + USB Key perfectly fulfills this requirement! It can run as a host while simultaneously simulating a network card. When connected to a computer via the USB port, it can both power the Zero 2W and establish a direct connection channel between the Zero 2W and the computer, allowing us to connect to the Zero 2W without needing Wi-Fi.
Flashing the Image
In fact, this solution of connecting to a Pi Zero directly via USB has existed for a long time. For example, the tutorial “Raspberry Pi Zero USB/Ethernet Connection Configuration Tutorial (macOS Platform)” dates back to 2018. However, the configuration methods therein are outdated. Here, I will update the latest solution that works with the help of K2.
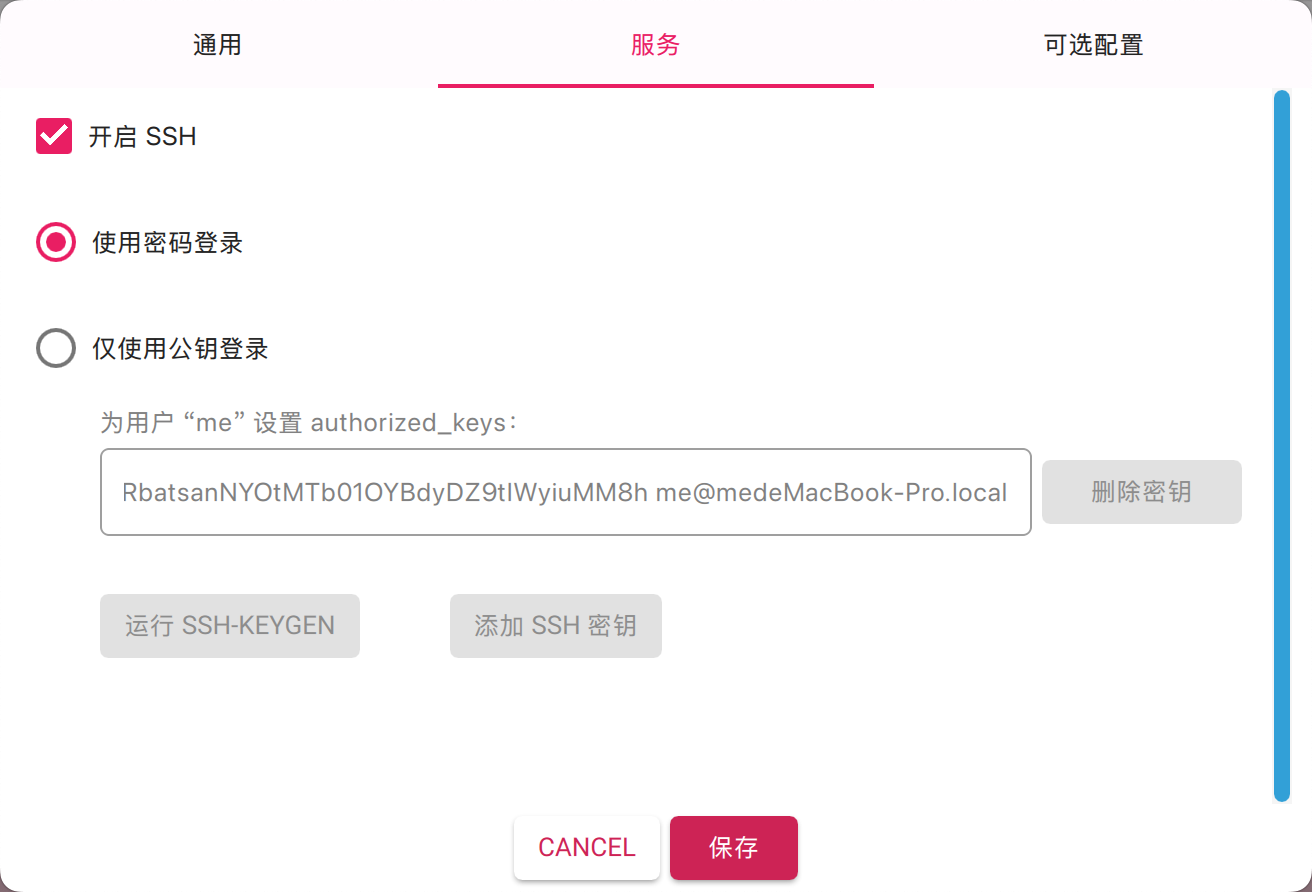
First, prepare an SD card and flash the latest Raspberry Pi OS image onto it. The official Raspberry Pi Imager has made flashing images much simpler. There are a few details to note during the flashing process: first, you must configure the Wi-Fi credentials (these can be changed later, but the first configuration requires Wi-Fi), and you must enable SSH. Adjust other settings as needed:
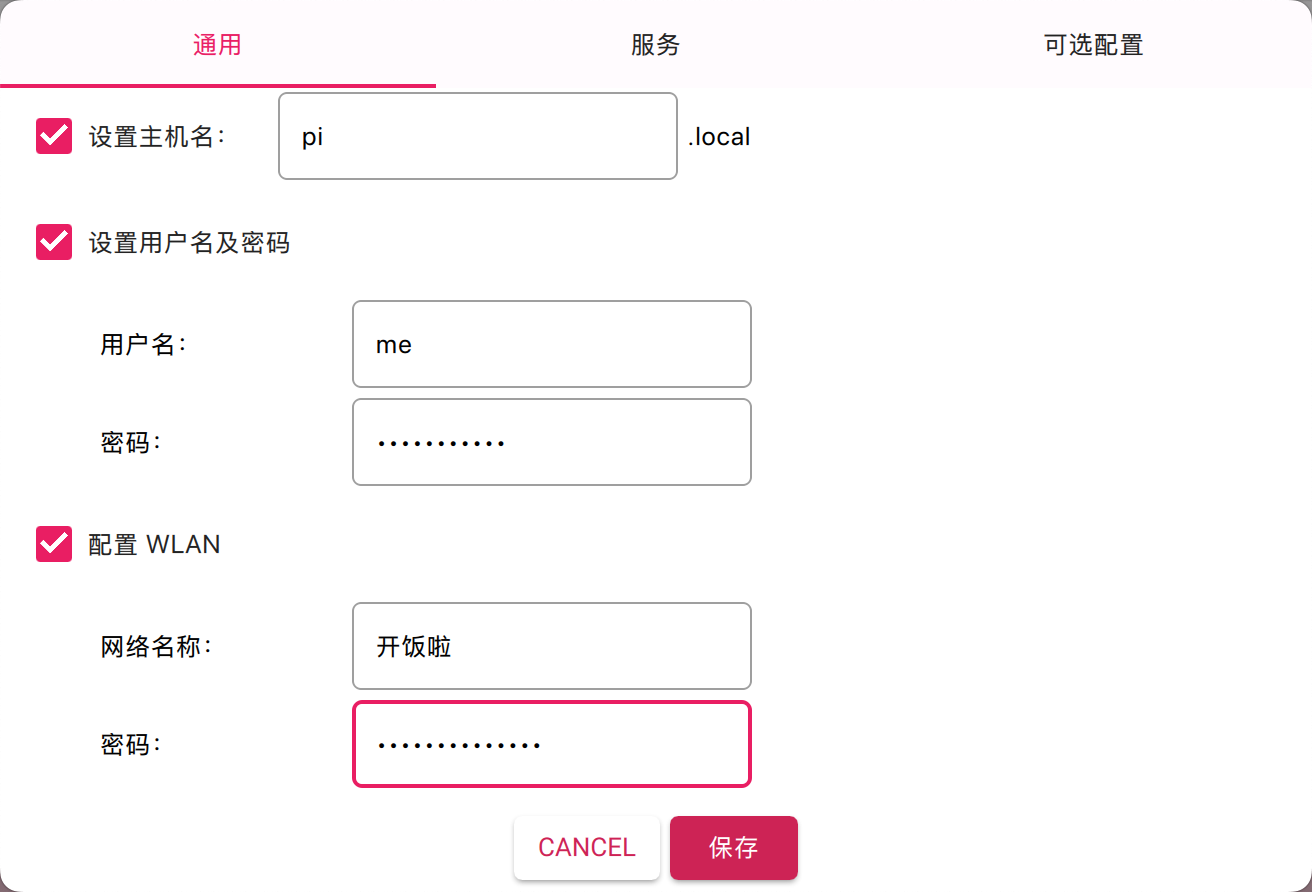
It is recommended to set a hostname and remember it, so that we can
later access the Pi directly in the local network through it without
needing to remember the IP address. After the settings are complete, you
can flash the image. Once finished, keep the SD card plugged into the
computer using a card reader (my computer is a MacBook Pro running macOS
15.3.1, hereinafter referred to as “Mac”). Find the
config.txt file in the root directory of the SD card and
add the following line at the end (the current end is usually
[all]):
dtoverlay=dwc2At this point, the image flashing step is complete.
Network Card Configuration
Now we can insert the SD card into the Pi and plug the Pi into the
Mac via the USB port. The Pi will power on and boot. Once the boot is
complete, since we already configured the Wi-Fi, the Pi should have
successfully connected to the network. At this time, connect the Mac to
the same network, and we can SSH into the Pi via
ssh me@pi.local. Of course, you can also find its IP
address in the router settings and SSH via the IP.
Next, execute the following on the Pi:
sudo modprobe g_ether
sudo ip link set usb0 up
sudo ip addr add 169.254.7.11/16 dev usb0
After execution, check with ifconfig. You will find a
new network card named usb0, with the IP set to
169.254.7.11. This is a reserved internal network IP; you
can set it yourself, but if you have no special considerations, you can
just copy this.
After waiting a moment, switch to the Mac’s “Settings” - “Network.”
Under normal circumstances, a new RNDIS/Ethernet Gadget
service will appear and connect automatically. Click “Details,” and you
will see an IP assigned via DHCP. Change it to manual mode, set the IP
to 169.254.7.1, and leave the router field empty. This IP
can also be customized in principle, but if there are no special
considerations, just copy it.
Switch back to the Pi and execute ping 169.254.7.1. If
it pings successfully, it means the Pi and the Mac have formed a small
local area network via the USB port. The Mac’s IP is
169.254.7.1, and the Pi’s IP is 169.254.7.11.
You can also connect to the Pi from the Mac via
ssh me@169.254.7.11.
Starting the Service
However, the current network card configuration is temporary and will
disappear after a reboot. We need to configure it as a service that
starts automatically at boot, so that in the future, even without a
network, we can still connect to the Pi via the USB port and
ssh me@169.254.7.11. This is our ultimate goal.
On the Pi, create a new file /usr/local/bin/usb0.sh:
#!/bin/bash
sudo modprobe g_ether
sudo ip link set usb0 up
sudo ip addr add 169.254.7.11/16 dev usb0
nohup ping -c 100 169.254.7.1 > /var/log/usb0_ping.log 2>&1 &
exit 0
Then run sudo chmod +x /usr/local/bin/usb0.sh. Next,
create /etc/systemd/system/usb0.service and write:
[Service]
Type=oneshot
ExecStart=/usr/local/bin/usb0.sh
RemainAfterExit=yes

[Install]
WantedBy=multi-user.target
Finally, execute:
sudo systemctl daemon-reload
sudo systemctl enable usb0.service
And that’s it. In the future, when you plug the Pi into the Mac, once
the boot is complete, you can connect via
ssh me@169.254.7.11. If needed, you can connect to or
switch Wi-Fi via sudo raspi-config.
Summary
As for the remaining steps of setting up the side router/transparent proxy, I leave that to the readers to explore. This article mainly helps everyone get the “portable” step running; the rest is up to your own creativity.